ACETAL: 3d Printing 3mm Black MendelMax 1.5+
In an attempt to print a part from Acetal I quickly discovered that the claims about it not sticking to anything? Are quite TRUE!
Acetal: Information www.wshampshire.com has a good PDF with technical information regarding POM/Acetal.
Acetal Filament: GizMoto Dorks (Link) is / has the only filament that I know of. Im sure their are more out their. But, all my searches ended up with them.
Acetal properties relative to printing: It has a high shrink ratio. Similar to ABS. I have tried printing to Glass, Sanded glass, Various samples of Formica/laminate, various samples of phenolic ranging from paper to cotton, ABS, Polycarbonate, Acrylic, PET, Woods(maple,Mahogany, birch, pine, oak), metal, aluminum, copper, PCB’s, papers/cardboard, Duck cloth(cotton based) AND POM/Acetal.
PCB’s: I tried the PCB’s not simply because of what its/their made from. But because of the matrices of holes. My thought was that IF I can get the acetal to push down into the holes perhaps it’ll add just enough grip to keep the parts down. My test proved it did in fact extrude well into the holes quite well. but lifted just as if it had a layer of oil. Results? “FAIL”…
Of all the above mentioned. only cardboard/paper, Cotton fabric and Acetal were among the only that showed any promising results or even came close to sticking. As the others? barely if any stuck.
Cardboard: While it was one of the first I was able to get any acetal to stick to. the cardboard failed by releasing from itself. Due to the acetals need to shrink overwhelmed the cardboard it self. though the lifted up sections had traces of cardboard suck to the acetal. better/stronger cardboard?
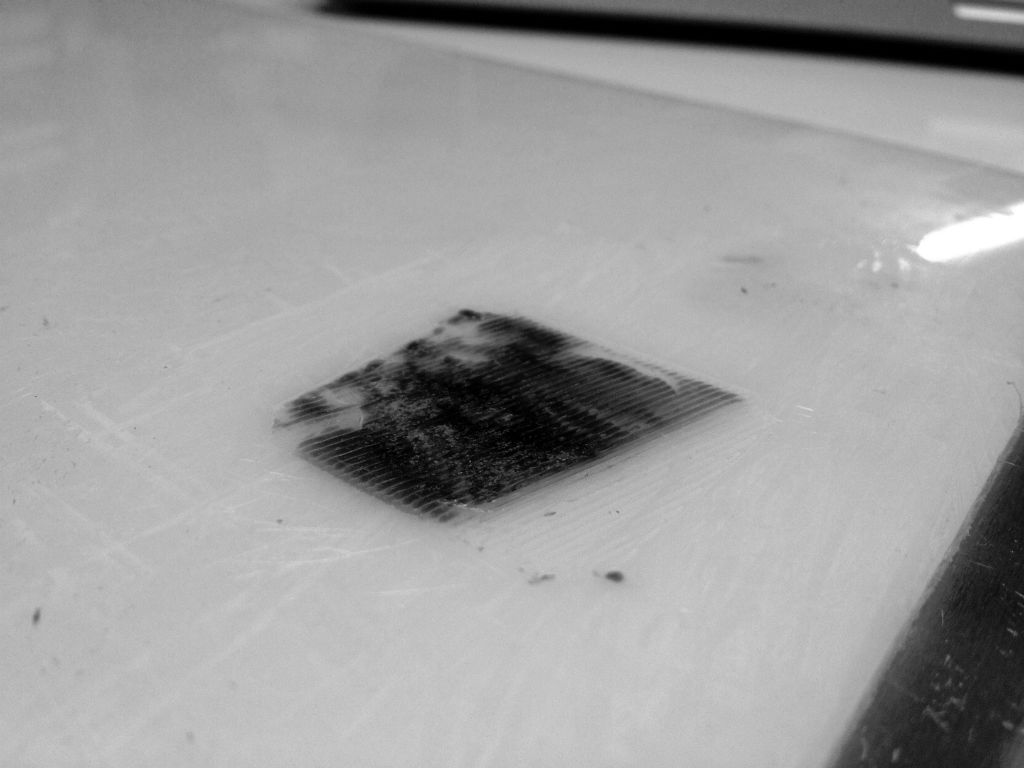
Acetal: I purchased some 1/4″ sheets of acetal to print on. and YES it does work. but good luck in separating the part. it might as well be welded to the part. if your part can be designed with a flat surface. and your willing to sacrifice the build surface for each part. then this IS your solution.
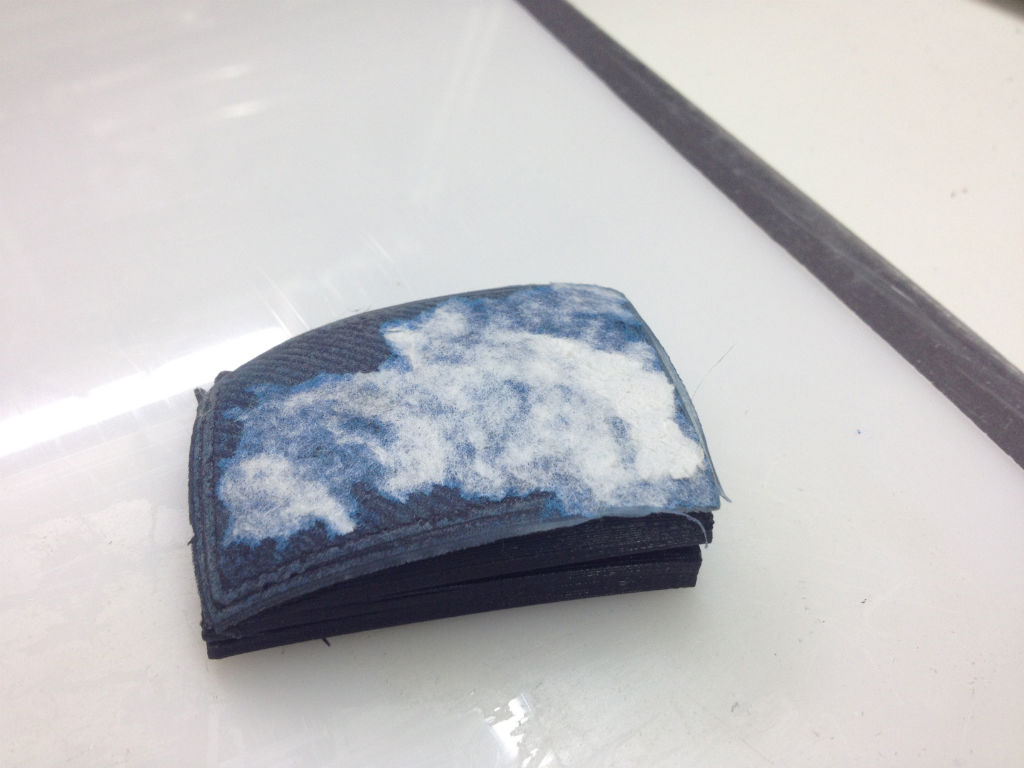
Duck cloth: in my case 100% natural cotton canvas. stick like crazy and can be removed. without damage to either part. However the underside of the printed part will have ultra small fibers and or the rough canvas like finish on it. Im not to happy with the finish but perhaps I can work on a post solution. right now Im focused on what will even stick. and thus far. this is the best Ive found.
Duck cloth work surface: In my previous test with the duck cloth I fabricated up a quick work surface from some high temp double sided tape on a glass surface. while this worked for a quick test. the duck cloth did lift from the double sided tape. thus causing my part to suffer. but the duck cloth did not separate from the part. I am now waiting on my new improved work surface to dry so that I may continue my test. The new work surface. is a full size 240mm x 290mm x .050” aluminum plate. I used 3m 5200 as the adhesive to laminate a layer of the duck cloth to the aluminum. though Im anxious to try it out Im going to wait the full 7 days to cure.. Im currently at day #1 full cure will occur no later than July 1 2015 (results will continue then).
Print Surface:

Close up of the edge I ran a strip of tape 1/4″ in from the edge in an effort to keep a clean straight line and squished a bead of 3m 5200 to seal the edges from fraying.
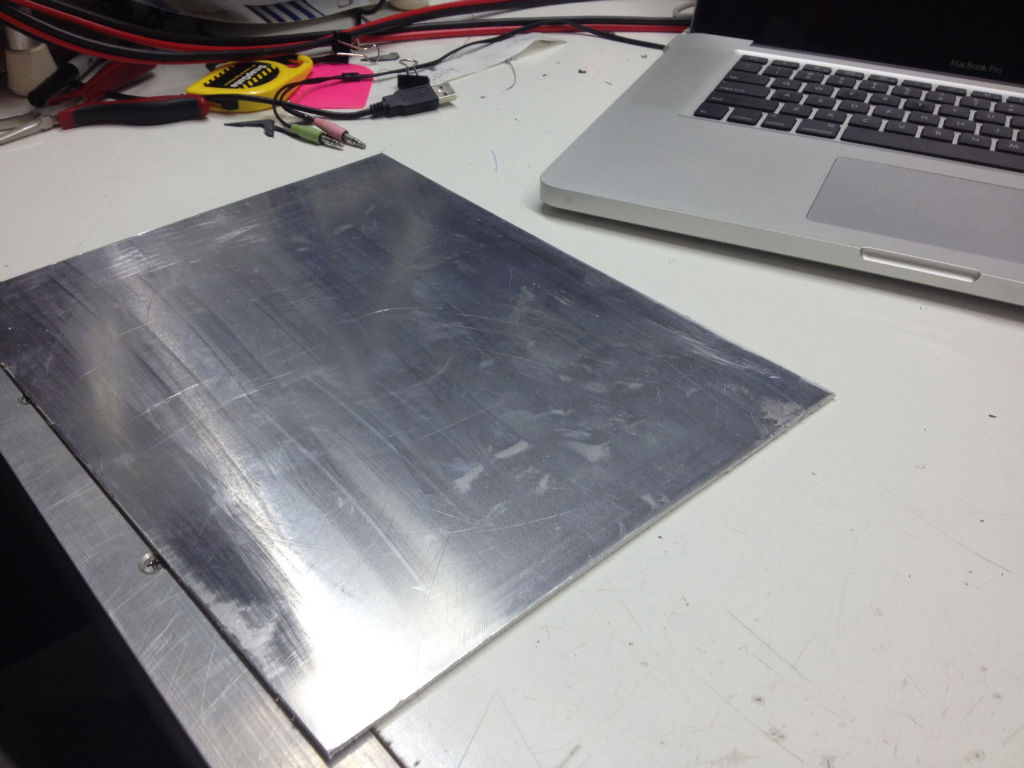
This is a pic of the back side just plain Alum .050″ 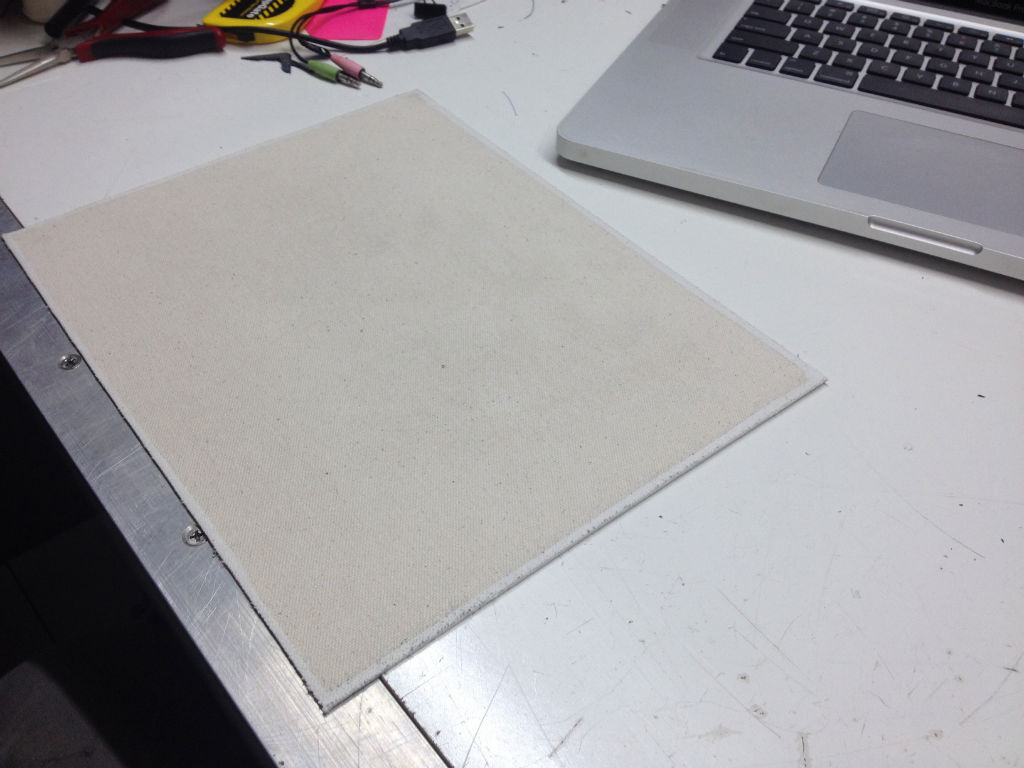
This is a broader pic of the top side.
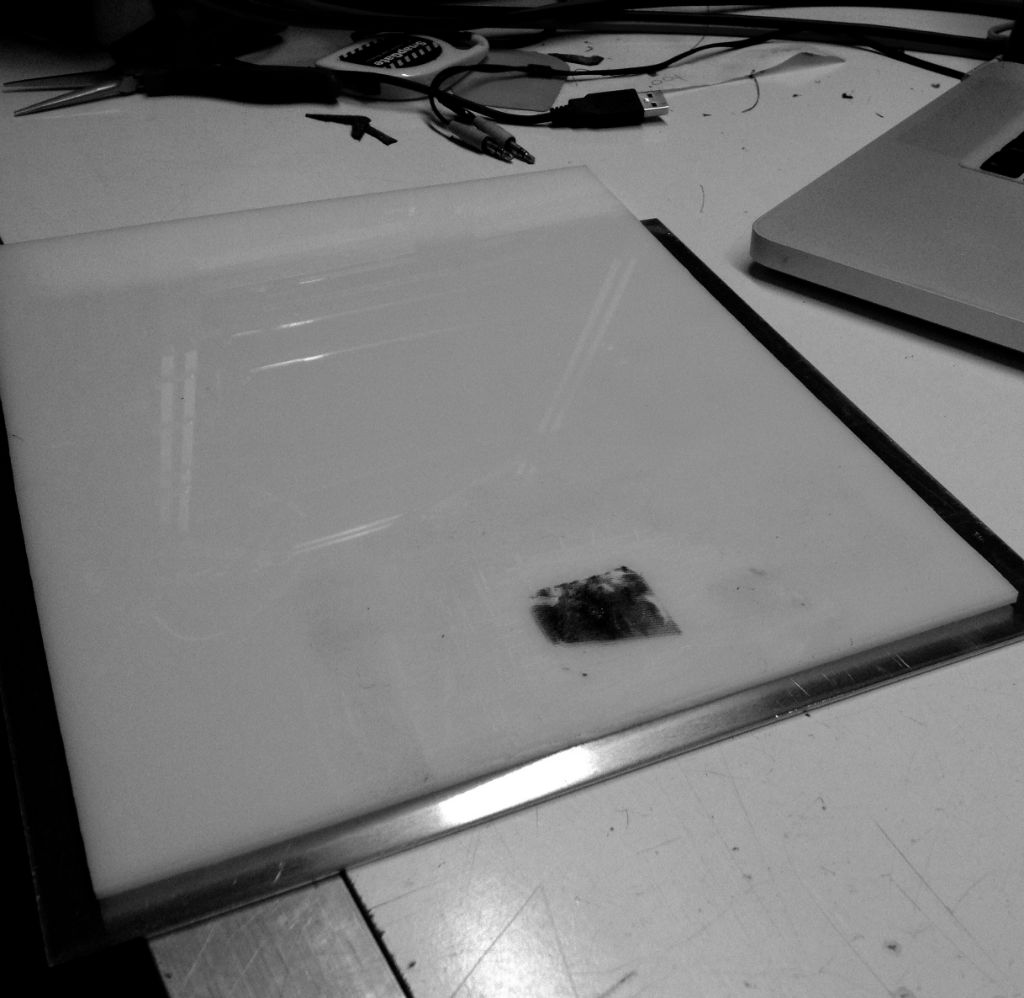
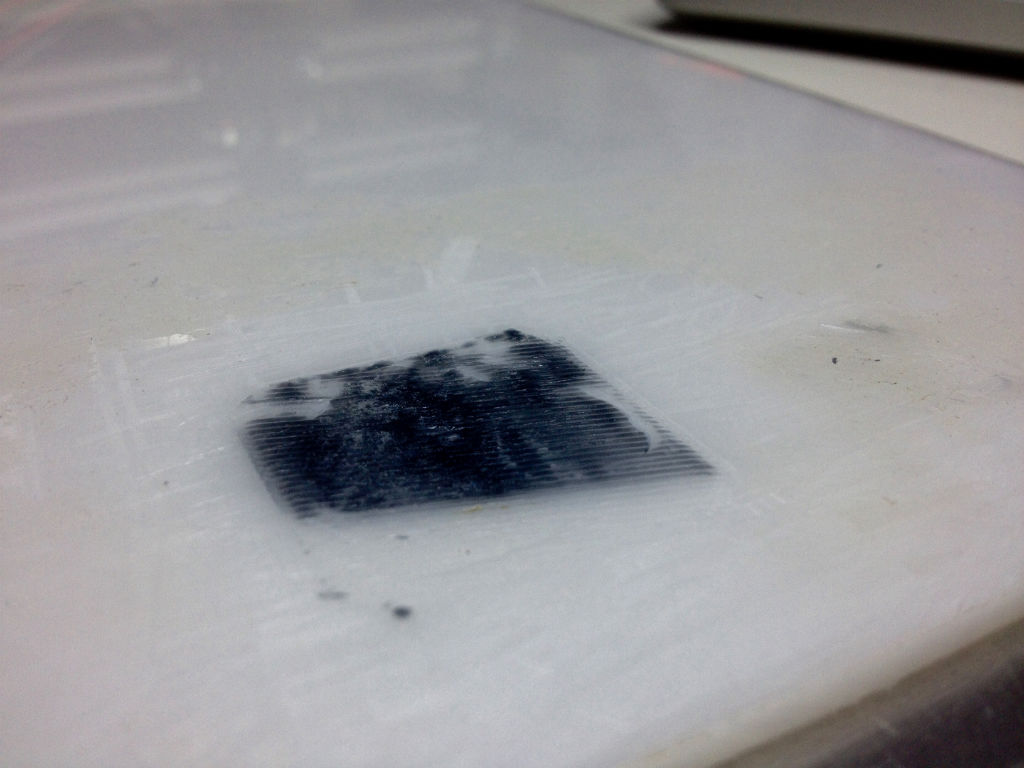
Failed Print Surfaces:
(below is a collection of attempts to print to 1/4″ acetal sheet)
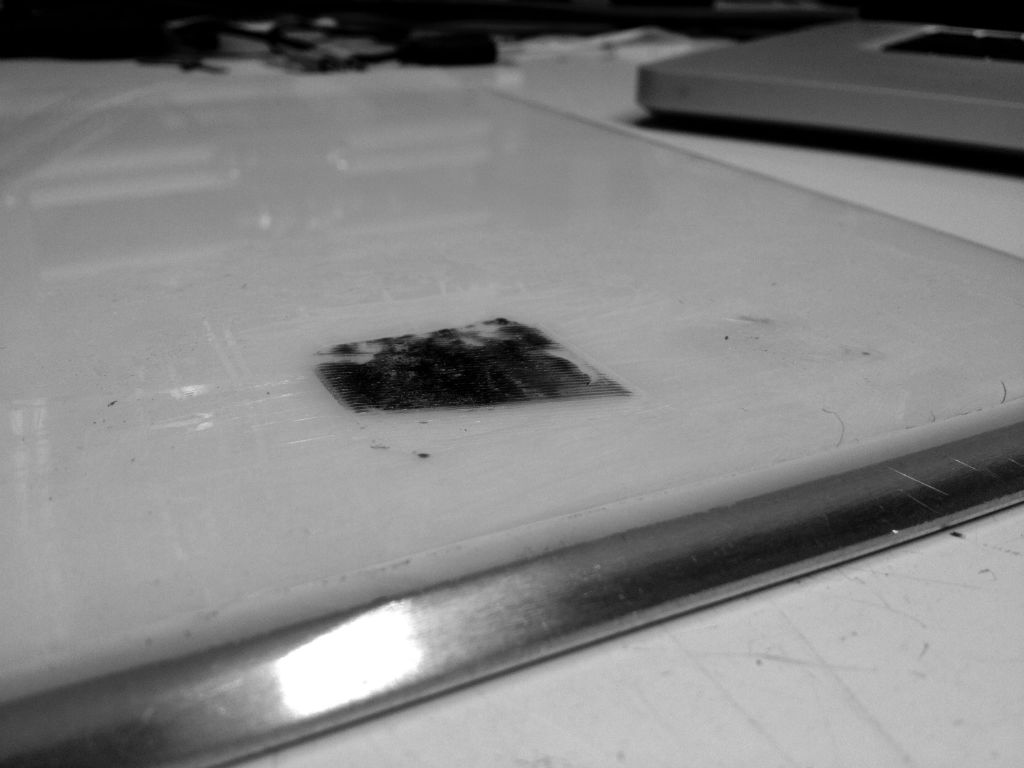
About my part. Its aprox 2″x2″x2″ and has some threads that need to be printed within it. as well as it needs to be some what square. as its replacing a part in in a metal working machine.
Machine setup: MendelMax 1.5 with a bowden style extruder setup. the filament is 3mm. I have read many post claiming 3mm bowden setups don’t work well. (well they do for me.) if your printer is tuned to print good. it’ll print Acetal well too. just my guess. as once you get the base down the acetal prints very nice.much like ABS but smoother and slicker.
Acetal Temps: My specific test rand with un heated and heated bed (ranges from off to 100c). Extrusion for me was best at about 220c. any more and bubbles started to appear in the filament.
Fans: Basically a NO NO… However I soon discovered that Acetal holds heat very very well. almost to well. and as your part starts to gain volume so does the overall heat with the part start to grow. perhaps resulting in a part that will soon slump or cave in. so cooling would seem like the solution but just as soon as you give any wind or air movement the part starts reacting by shrinking. So what I have found that works for me. is Get your base layers down. lets say at least 3-5 layers then slowly introduce some fan at low speeds slowly working up to some good wind. by the time you get to say 10 or more layers? your giving it some good air movement/blowing from all sides… this results in a part that wont end up slumping or caving in on it self.
RAFTS: I have mixed results with rafts. the good side is the raft takes the brunt of the first several layers and will most certainly curl/lift/shrink. thus allowing your part to survive. the BAD: while the raft looks to be taking the brunt of the Good side. I have yet to perfect the art of getting it to separate from the part. basically? it sticks to well. on the PART side. Im still working on it. It has much potential.
SKIRTS: If you can get your part to stick at all you may not even need a skirt. but My tests have had no benefit from a skirt. as the sticking properties. are so black and white. skirts dont seem to help.
This is one of my Rafts attempts:
Other links/sites Ive gleaned information from.
- GizMoto Dorks Claims: The recommended print temperature is between 210°C – 225°C. Please note that Acetal degrades when overheated and may give off small amounts of formaldehyde gas. Do not keep Acetal heated above 230°C. Therefore, please always use in a well ventilated area or in a ventilation system. Please keep Acetal away from moisture and always keep filament in an airtight container with a desiccant. POM can be printed on a heated bed plate ~130°C covered in blue tape. Use hairspray on top of the blue tape for even better results. Some users prefer wood or cellulose based platforms to print on such as high density cardboard. If you have a heated chamber, then please remember to pre-heat your chamber to reduce warping.
- Ultimaker forum thread (https://ultimaker.com/en/community/view/3646-3d-printing-in-acetal) A very good read. quite old but good info. (WOOD solution)
- A private users blog: http://blog.think3dprint3d.com/2013/09/3d-printing-with-acetal-filament.html Another good read. (paper solution)
- Misc links: http://open-source-energy.org/?topic=1968.0 Thread has some links.
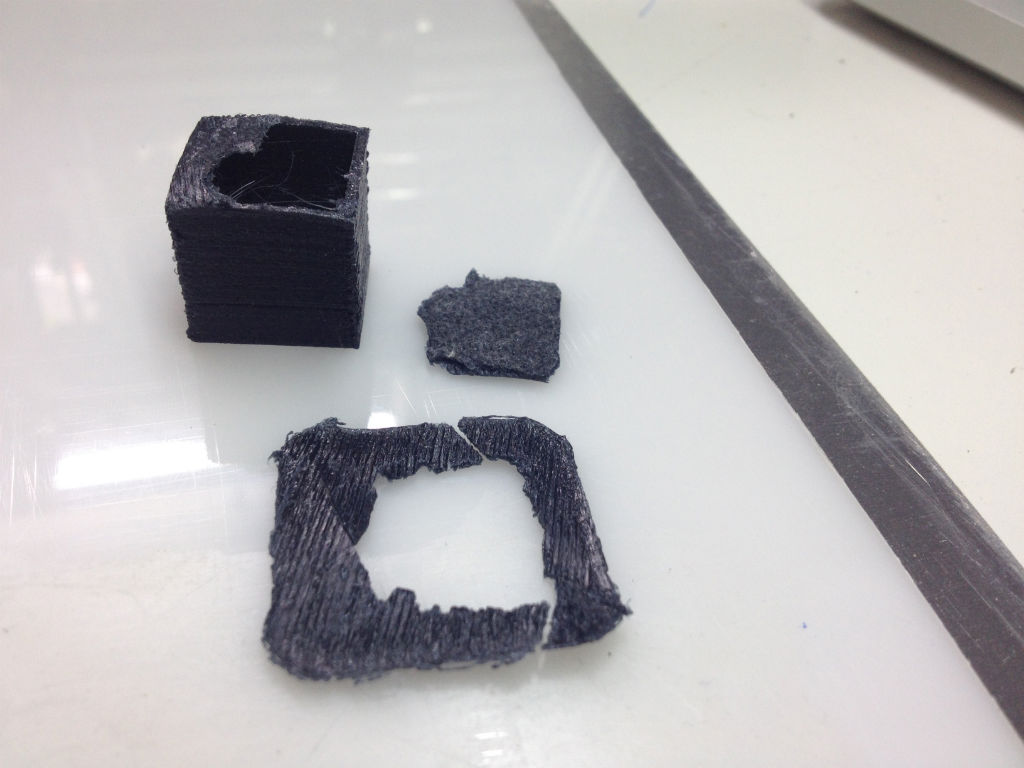
Misc Pics of Print attempts:
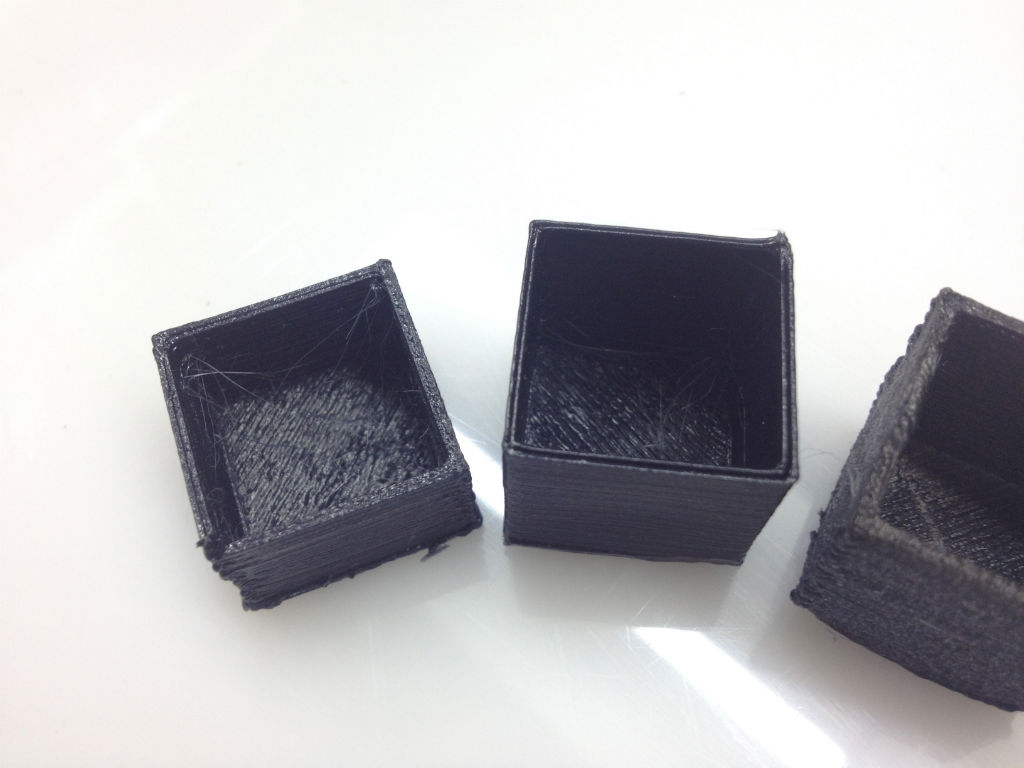
Printing in Acetal will produce some very hairy like string much like spider web and strong too. but easily cleaned up with a lighter or heat gun As can be seen in the smaller left cube.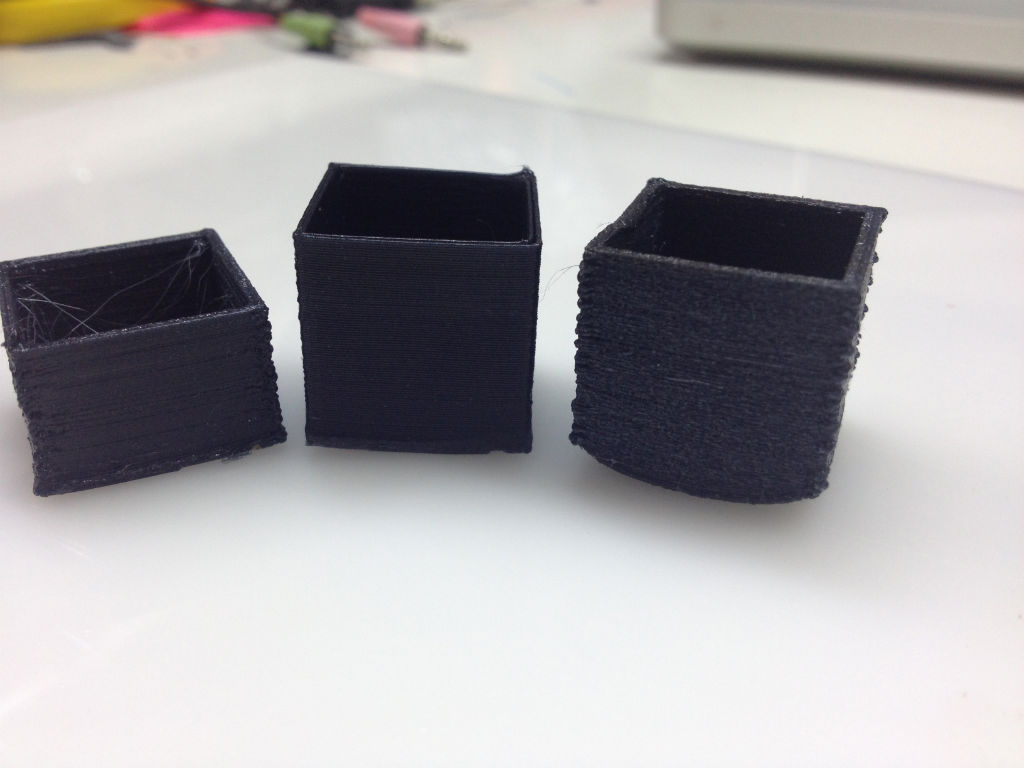
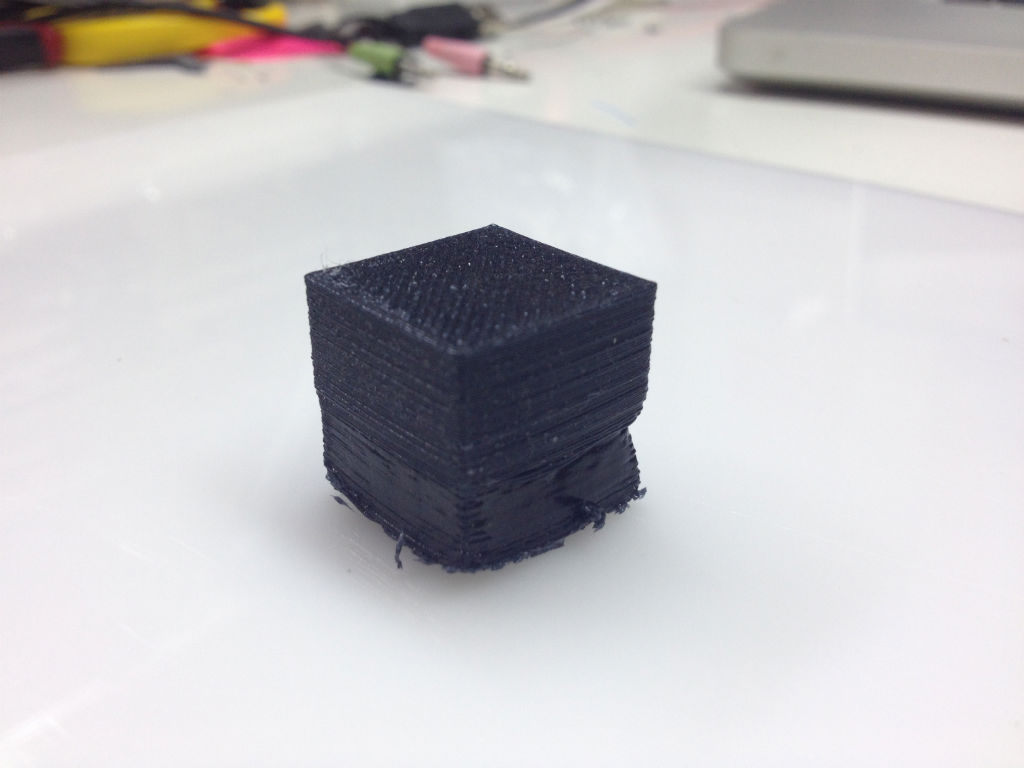
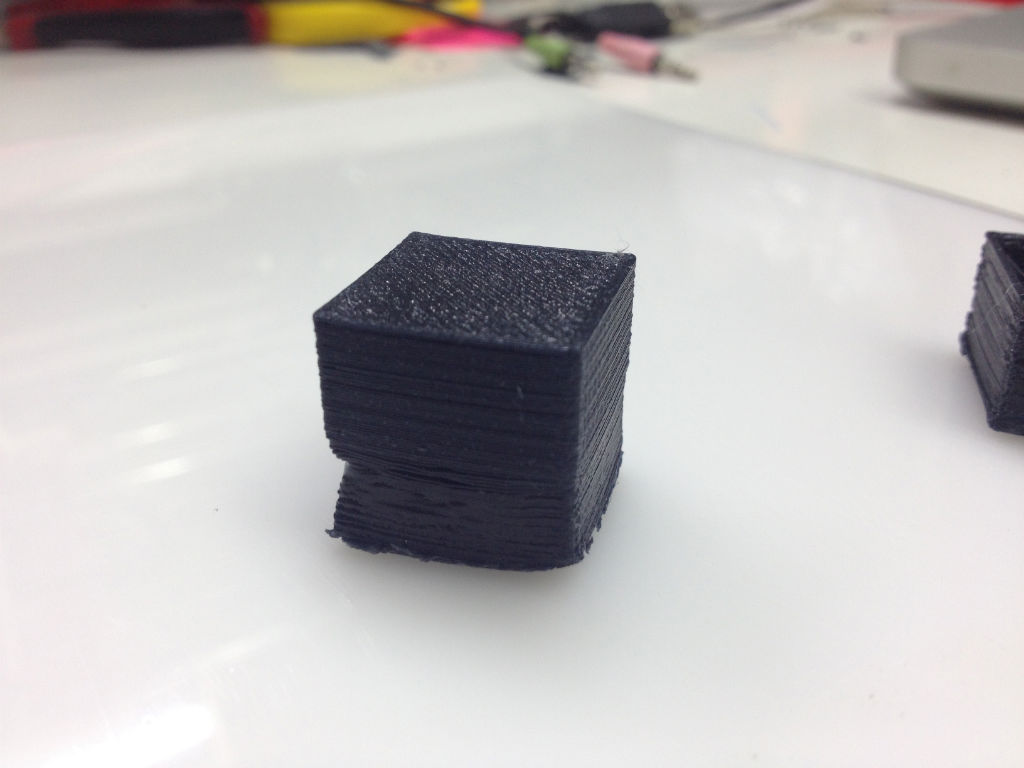
The following cube was a demonstration of starting the print with absolutely no fan. The print started well.. say into the 5th layer … but then started to generate so much heat it actually starts to collapse on it self. Once I noticed the collapsing. I turned on a fan. the the following layers printed quite nice in contrast.

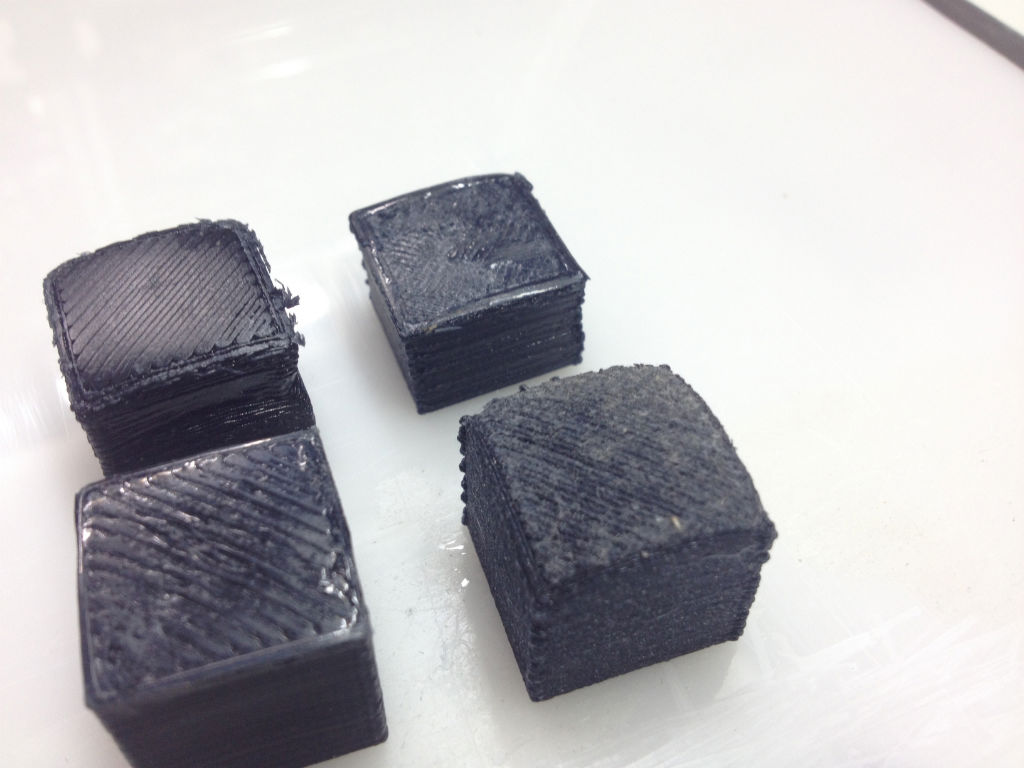
From Top Left to lower right Initial print on Glass with Glue stick, Top Right: Same 2nd attempt, Bottom left. Same only with added heated table. Bottom right: No heat but on Cotton Duck fabric.
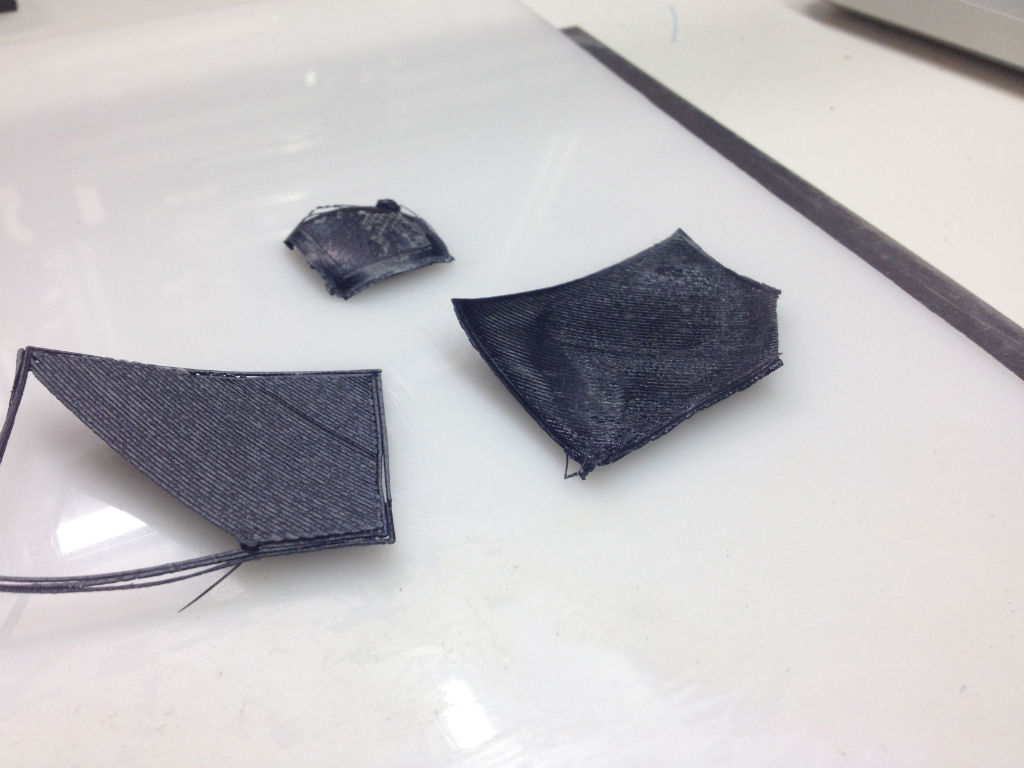
First layers to show shrinkage and lifting

Part printed on hight density cardboard. Collapsing due to heat, Separation of layers, Part lifted and curled. paper is not really removable.